How to Personalize Tumblers With Vinyl
Tumblers have become all the rage, and for good reason. These handy containers keep your drink hot or cold longer, prevent messy spills, reduce waste by replacing disposable cups, and effortlessly blend functionality with style.
Though many people will buy a tumbler for its practical uses, they’ll choose it based on its appearance. But what should you do if you can’t find a tumbler design you like? You should make it yourself, of course!
This guide will teach you how to personalize tumblers with vinyl decals the easy way and the slightly more demanding (and more expensive) way. However, it will also show you how to get highly personalized tumblers without embarking on a DIY project.
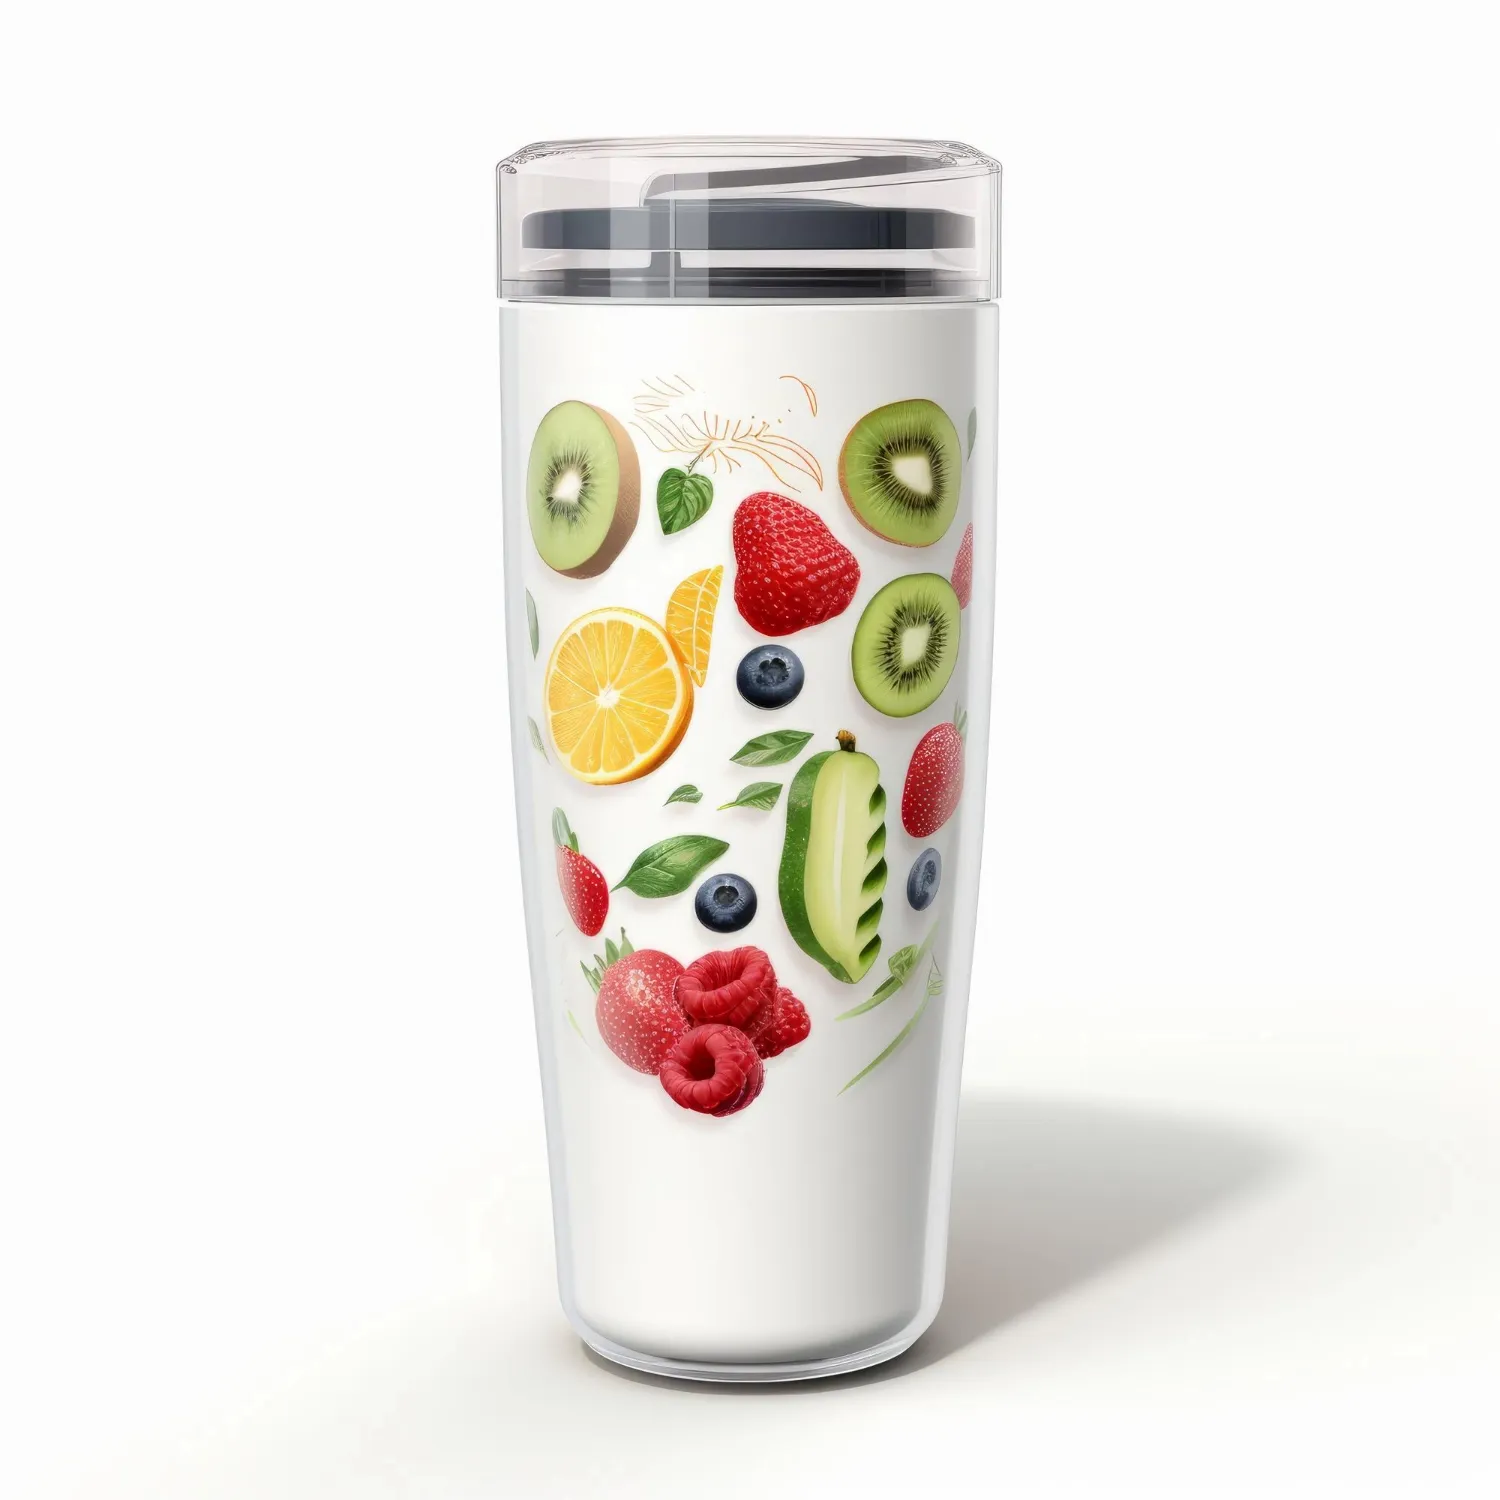
How to Personalize Tumblers With Vinyl in Two Ways
Applying vinyl decals is one of the best ways to personalize your tumbler. If you opt for this route, you have two options – buy pre-made vinyl decals or make them yourself. Naturally, the first option is drastically easier, as it involves no specialized equipment and calls for virtually no skills.
However, the second option allows you to create unique vinyl decals straight from your imagination. After all, if you can’t find personalized tumblers that suit your style, what are the chances you’ll have more luck with the decals?
Without further ado, let’s break down how to personalize tumblers with vinyl decals using both methods.
Method 1 - Using Pre-Made Vinyl Decals
Let’s be honest – this method might not even need a tutorial, given how easy to pull off it is. Still, let’s play it safe and ensure you’re 100% satisfied with the result.
To personalize your tumbler with pre-made decals, you must first find the decals you like. A simple Google search will reveal a seemingly endless number of online retailers who manufacture and ship these striking decorations. Order your favorite(s), and you can get down to business.
Once the vinyl decals arrive, applying them will be a breeze. These decals are made with a thin, flexible material that can be easily applied to your tumbler’s surface. Since they’re also self-adhesive, there’s no need to use glue.
Basically, to personalize your tumbler with pre-made vinyl decals, you only need a steady hand and a little patience. Here’s what to do:
- Clean your tumbler with rubbing alcohol to ensure there’s no oil, dirt, or debris on it. This will allow the decal to stick properly.
- Position the decal where you want it on the tumbler. If you want it in a straight line, use a ruler to help you out.
- Peel off the paper protecting the sticky side.
- Gently press the decal onto your tumbler. Remember to smooth out any air bubbles as you go. You can use a credit card as a helper.
- Once the decal is properly stuck, gently remove the protective covering on top, starting from the corner and continuing diagonally.
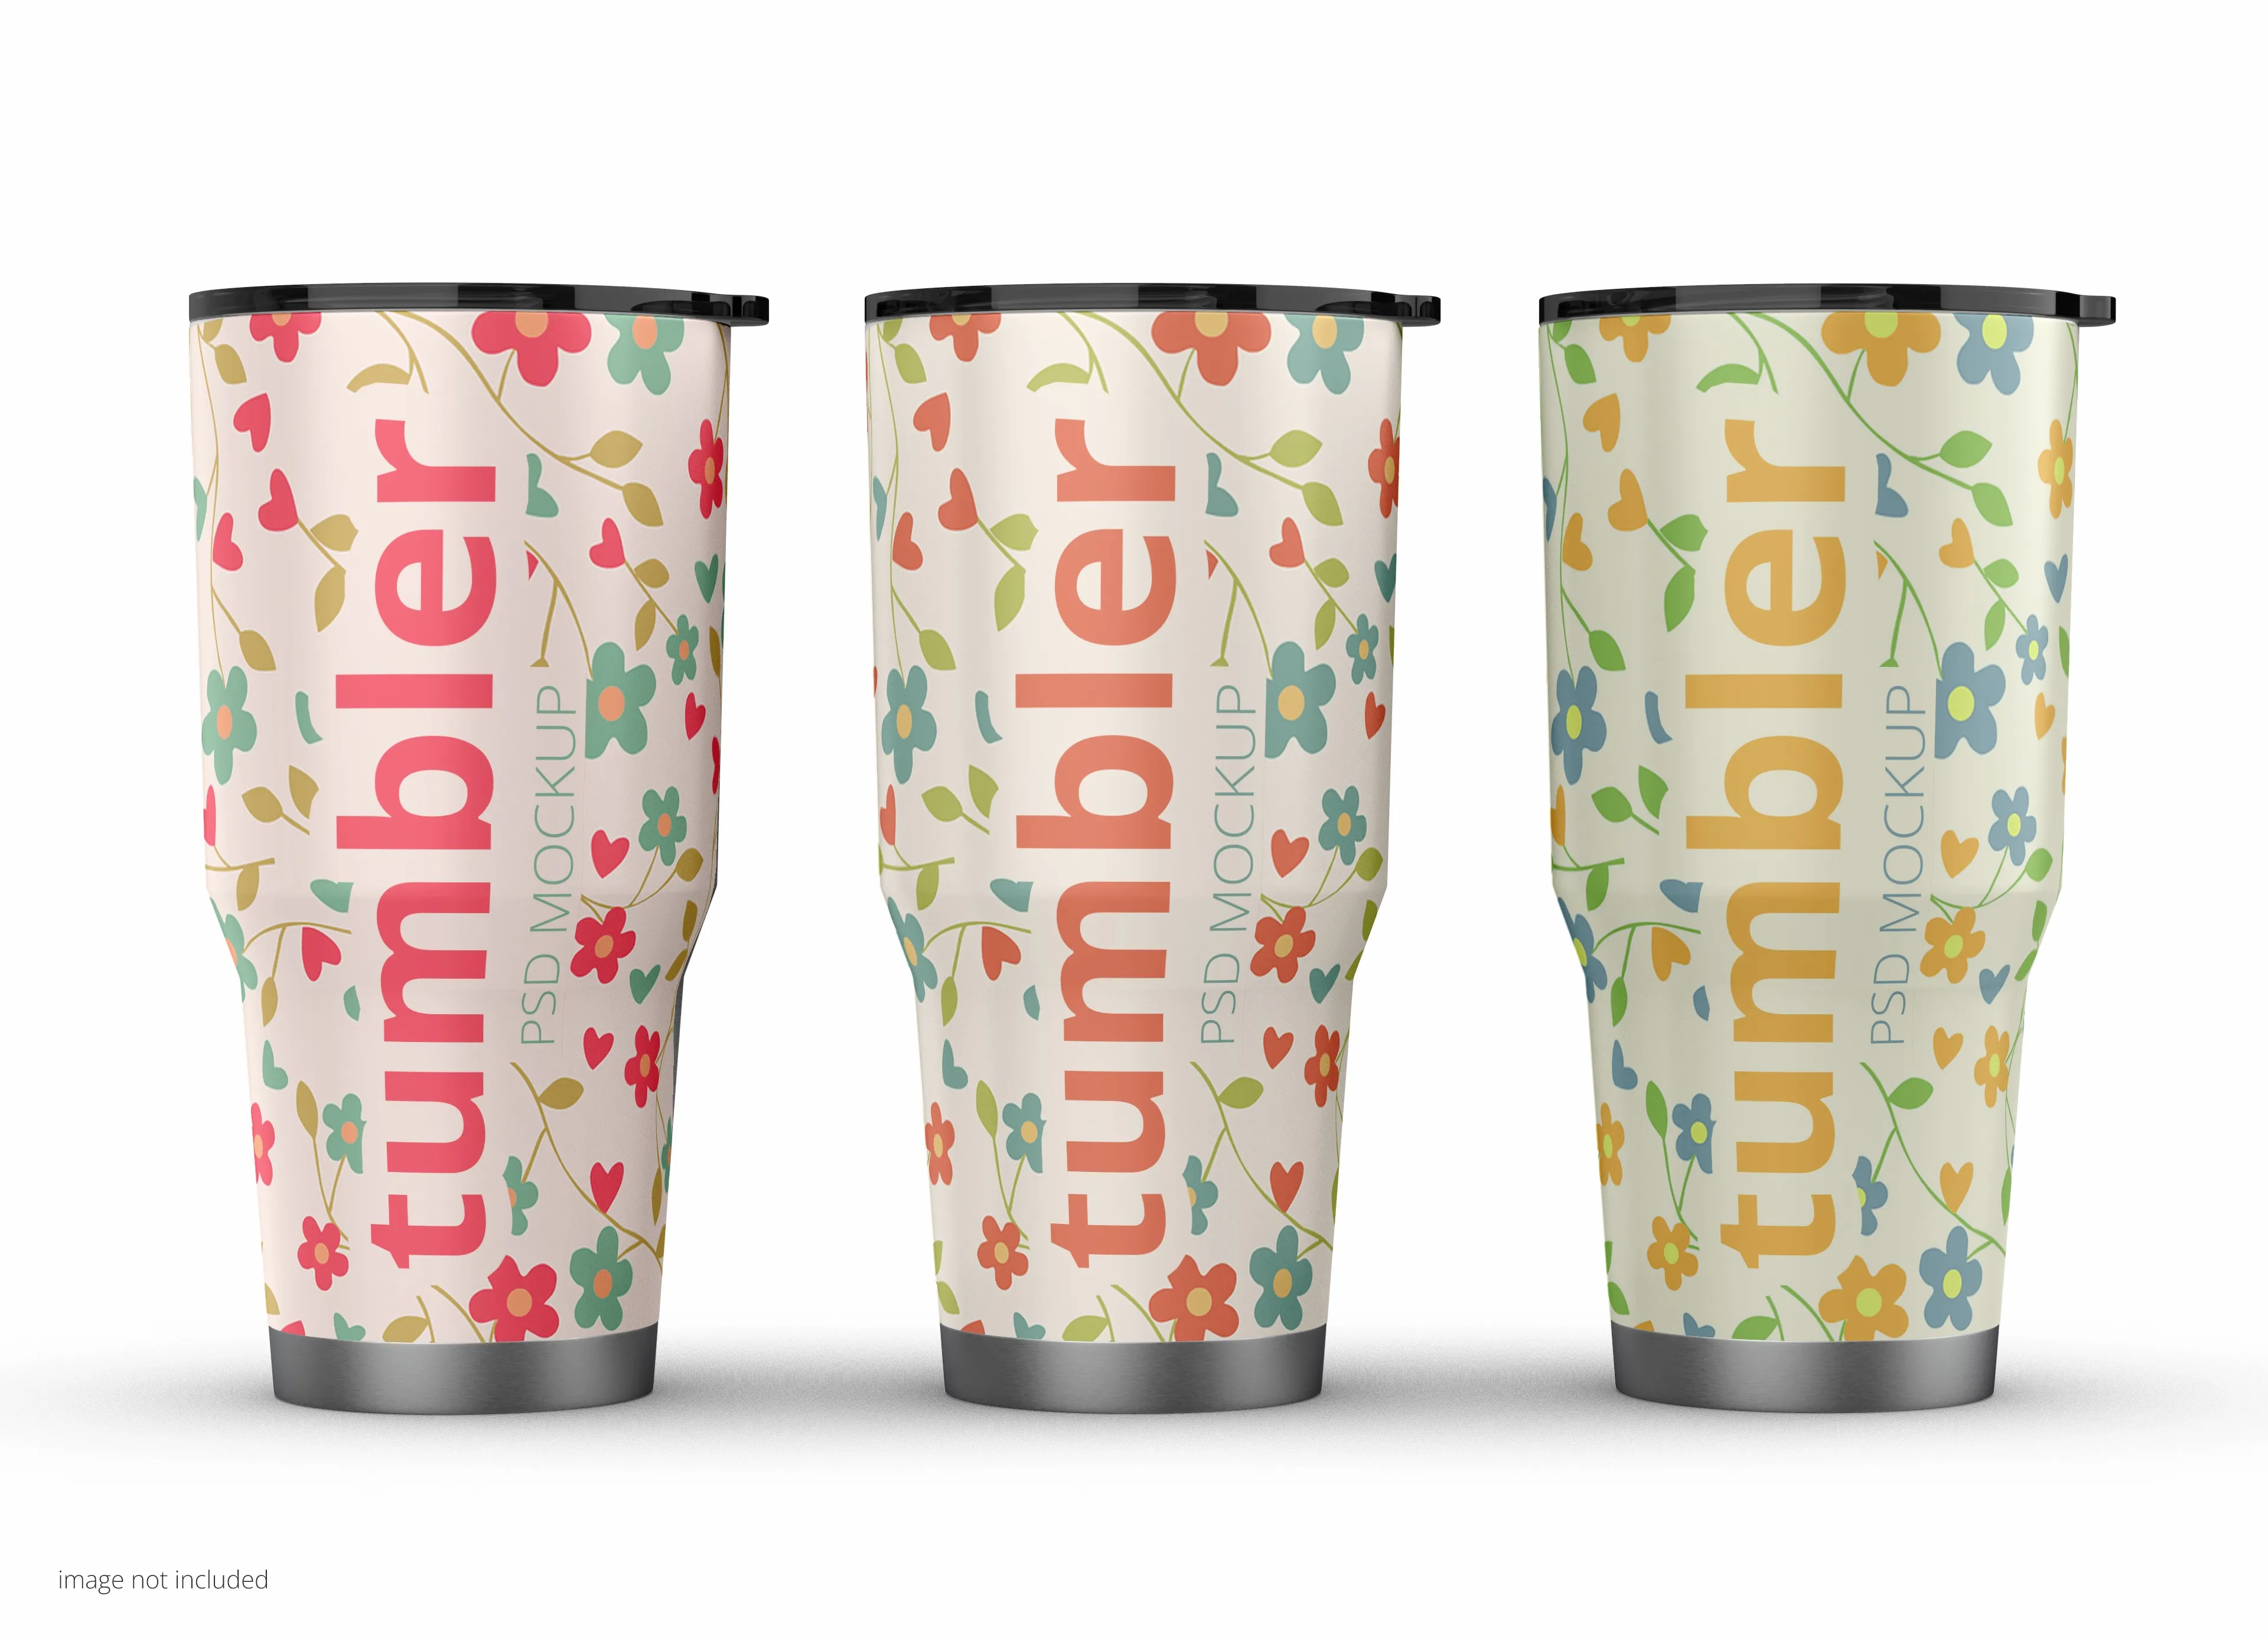
Method 2 - Creating Your Own Vinyl Decals
Method 2 might be more complex to master, but the end result will be well worth it. Follow the step-by-step tutorial below to nail this process.
Step 1 – Gather Your Supplies
Step 1 is where many people might give up on this DIY project. Why? Because it requires a Cricut machine.
If you’re unfamiliar with these machines, know this – they can cost hundreds of dollars and have quite a steep learning curve.
Are you still adamant about creating your own vinyl decals? Awesome! Here’s what else you’ll need:
- Permanent vinyl
- Transfer tape
- Weeding tools
- A pair of scissors
- A squeegee
- Rubbing alcohol
- A standard grip mat
Step 2 – Create Your Design
This is where all the fun begins (and possibly ends if you aren’t fond of the Cricut machine!).
Using a design software program, create your vinyl decal design. Feel free to let your imagination run wild and play with various colors, fonts, and layouts. The only thing to keep in mind is the size of your tumbler.
Step 3 – Cut Your Vinyl Decal
After creating your design, it’s the Cricut machine’s time to shine. Here’s what to do:
- Load the permanent vinyl onto your grip mat.
- Follow the on-screen prompts to cut your design.
- Use weeding tools to remove excess vinyl.
- Apply transfer tape to the front of your design.
Step 4 – Apply Your Vinyl Decal
Once your vinyl decal is nice and clean, it’s time to apply it to your tumbler.
- Thoroughly clean the tumbler with rubbing alcohol to make the decal stick better.
- Remove the vinyl backing.
- Position the decal properly and press it firmly.
- Remove the transfer tape.
- Smooth your decal using a credit card or a squeegee.
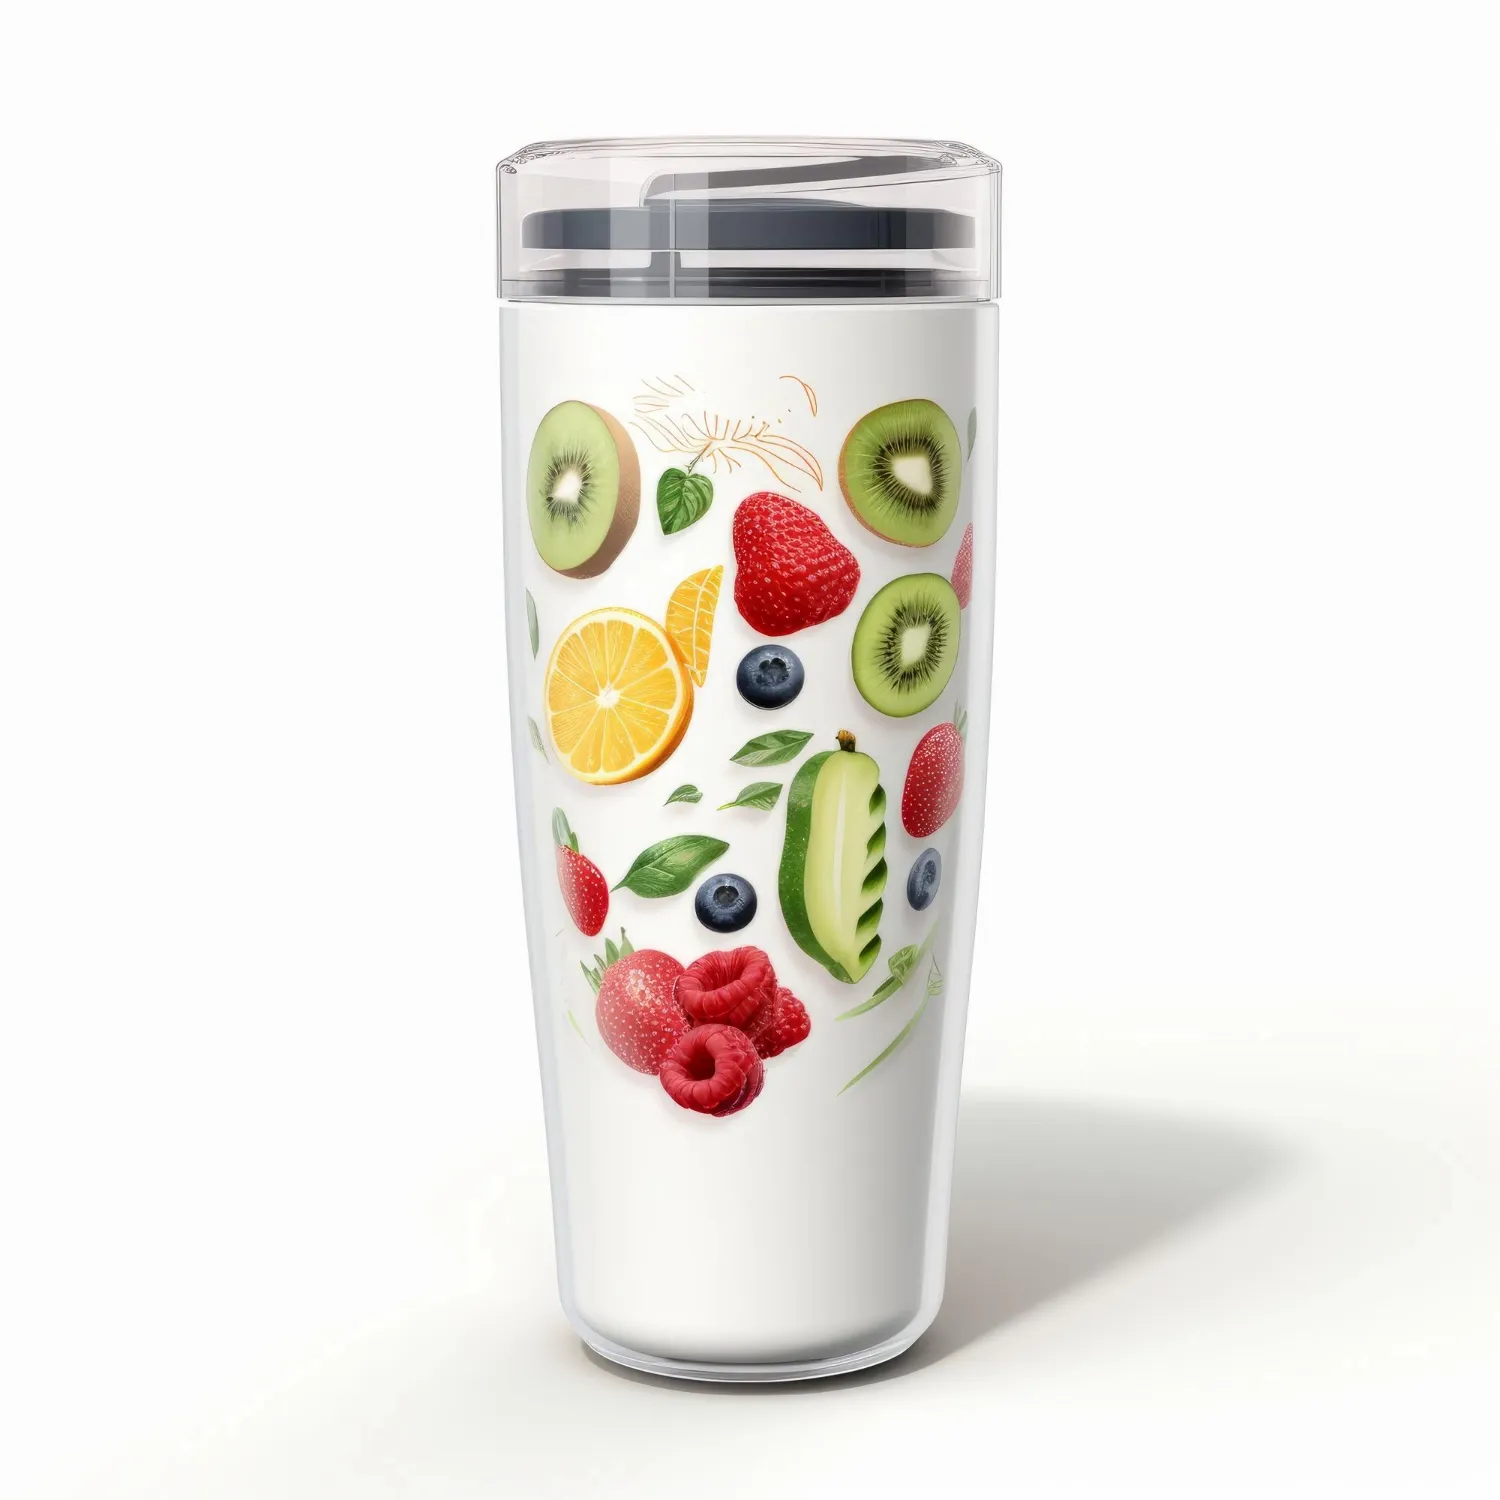
An Alternative Method for Getting a Personalized Tumbler
Let’s say you aren’t particularly impressed with the pre-made vinyl decal selection. Or, you might find it ridiculous to spend hundreds of dollars and master a new skill just to create a few personalized tumblers.
Does this mean you have to settle for generic and uninspiring drinkware?
Absolutely not! You can still have personalized tumblers with little to no effort on your behalf. How? Just order custom tumblers from Custom Cups Now.
With this method, you’ll be spoilt for choice. The material, size, style, color, and design are just some of the elements you can choose. From there, it’s only a matter of personalizing the tumbler to your liking with striking artwork.
And just like that, you’re done – no expensive equipment, cutting, or weeding needed!